DIY T-Shirt Refashion: Turn a Basic Tee into a Woven Workout Top
One minute it’s chilly and gray, the next you’re sweating on a walk to the store wondering how you own zero cute clothes to wear in the heat. This year, I’m starting early—working out, updating my wardrobe, and trying to be a little more intentional about how I show up… even to the gym. This year I’m actually going to be prepared!
But here’s the thing: gym clothes are expensive. And more often than not, they’re made in ways that aren’t exactly eco-friendly. While hitting the gym in a basic t-shirt can be incredibly comfortable, it’s a lot easier to actually get to the gym when you have new clothes to wear… even if they aren’t technically new. That’s why I love a good t-shirt refashion—especially one that makes you feel confident and cool while you break a sweat.
Today I’m sharing one of my favorite DIY workout top tutorials: a woven-back t-shirt that turns any plain tee into a strappy, breathable masterpiece. Whether you’re hitting the treadmill or running errands, this refashion adds a little edge and style—without spending a dime on new clothes.
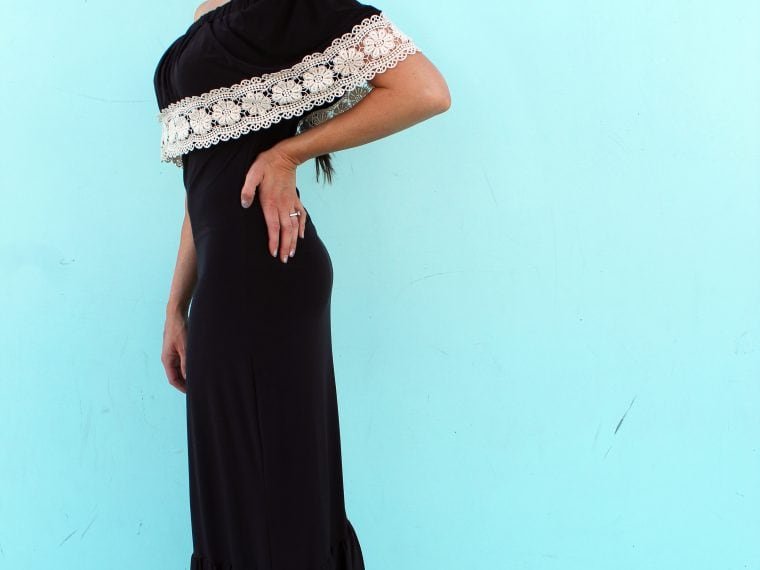
You could pair this woven t-shirt with a fun, strappy sports bra for a more interesting look…. or style it however else you want. It’s your shirt after all.

Why Try a T-Shirt Refashion?
Save Money While Upcycling
Let’s be honest—athleisure brands make a fortune selling what are essentially jazzed-up basics. But with a little creativity (and this tutorial), you can make something similar at home, starting with a tee you already have in your drawer.
Eco-Friendly and Personal
T-shirt refashion tutorials are a great way to reduce textile waste while personalizing your wardrobe. You’re not only giving your clothes a second life, but you’re also creating something that reflects your personality—whether you want it edgy, sporty, or sweet.
Great for All Skill Levels
Even if you’re not a sewing expert, this woven t-shirt DIY project is surprisingly easy. It uses just a few basic tools, and the weaving technique is simple to learn (plus I’ve included a video for visual learners like me). Soon you’ll be ready to weave details in your leggings, hoodies, and more.


What You’ll Need for This DIY Workout Top
Before we dive in, here’s everything you need to complete this t-shirt weaving project:
- A basic t-shirt
- Tailors Chalk
- Grid Ruler
- Scissors
- Piece Of Cardboard
- Hand Needle & Thread
You might also want a sporty strappy bra to layer under your finished top—it really makes the woven back pop!
Step-by-Step: How to Refashion a T-Shirt with a Woven Back
Step 1: Prep Your T-Shirt
Start by washing and drying your t-shirt if it hasn’t been laundered recently. Lay it flat on a table or cutting mat, smoothing out any wrinkles. You could even insert some cardboard inside the shirt to prevent cutting through the back layer.

Trim off the neckline binding so you’re left with a raw, slightly scooped neckline. This gives the refashioned shirt a more modern look—and makes it easier to align your cuts.

Step 2: Measure and Mark the Weaving Area
Find the bottom center of the shirt’s back (about 2-3 inches from the hem). Use your tailor’s chalk to mark it, then draw two diagonal lines upward toward the neckline to create a triangle. This triangle will be the area where your woven design lives.
Within that triangle, use your ruler to mark horizontal lines spaced one inch apart. These are your cutting lines.
Pro Tip: If you want a denser weave, make the lines ½ inch apart. The smaller the spacing, the more intricate your t-shirt weaving will look.
Step 3: Cut and Prepare the Strips
Cut along your marked horizontal lines, creating strips within the triangle. Be careful not to go past the boundary lines.
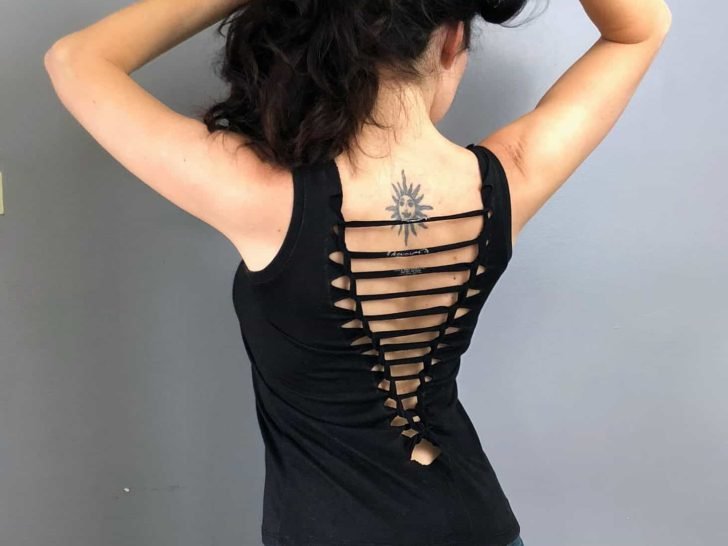
Now comes the fun part—learning how to weave a t-shirt. The basic weaving technique creates a beautiful chain-link pattern that looks far more complex than it is.
Now Weave The Strips Together! Watch The Tutorial Below.
After your t-shirt is complete, it’s time to try it on and see how it looks!
Styling Ideas for Your Woven T-Shirt Refashion
Once your DIY woven t-shirt is done, it’s time to show it off! Here are a few ways I love to style mine:
Gym-Ready
Layer it over a strappy sports bra and wear it with leggings or biker shorts. You’ll look instantly more pulled together, even if you’re just doing yoga in your living room.
Casual Cool
Throw it over a tank top or bandeau and pair it with cutoffs or joggers. Add some sneakers and a messy bun, and you’ve got a chill weekend outfit that’s equal parts comfy and stylish. If you wanted to DIY more, you could check out my easy wide leg pants pattern! You’ll feel even more casual cool when you’ve made your entire outfit.
Beach Cover-Up
This woven-back tee also makes a great swimsuit cover-up. The open design adds a breezy vibe while still offering a bit of coverage.
Date Night Outfit
Look effortlessly sexy on a summer night date by pairing it with your favorite jeans. Or, you could dress it up a little with a cute skirt. My incredibly easy full circle skirt pattern would be a perfect pairing for this! It’s one of my favorites.
Customize Your DIY T-Shirt Even More
I love the detail and unexpected texture this basic weave adds to an other-wise basic t-shirt refashion.
This t-shirt refashion tutorial is just the beginning. Once you’ve learned the basic weaving technique, you can start experimenting with other areas of your clothes or even create matching sets!
Ideas to Try Next:
- Weave the sides of your shirt or tank for a peek-a-boo effect.
- Add lace or mesh panels for extra detail.
- Try this method on sleeves, leggings, or hoodies to create coordinating pieces.
- Use dye or fabric paint to give your shirt a pop of color before or after weaving.
The possibilities are endless. This is a great jumping-off point for anyone looking to get into DIY fashion or upcycling projects.

Tips for the Perfect T-Shirt Refashion
- Choose the right shirt: Thin cotton or jersey works best. Avoid anything too stiff or thick, as it won’t drape or stretch well.
- Keep it even: Use a ruler or grid mat to keep your lines straight. Even strips = better weave.
- Start simple: If this is your first time trying a t-shirt weaving tutorial, don’t overcomplicate it. Master the basics first.
- Experiment later: Once you’ve done one or two, try adding different shapes, colors, or textures to your designs.
- Make it yours: Don’t worry if it doesn’t look “perfect.” The best part of DIY is that it reflects you.
Final Thoughts: T-Shirt Refashion for Confidence and Creativity
At the end of the day, this t-shirt refashion tutorial is about more than just clothes. It’s about getting creative, being resourceful, and showing up in the world with a little more confidence—without needing a brand-new wardrobe to do it.
We often overlook the emotional boost that comes from wearing something that feels good, especially when we made it ourselves. So the next time you’re about to donate that worn tee, try giving it a second life instead.
Thank you so much for reading this little t-shirt refashion! As always, if you have any questions along the way, please let me know in the comments below and I’d love to help!
Other Refashion Ideas You May Like:


Loved The Post? Please Share it!