How to Make Your Own Clothing Patterns: (Beginner’s Guide to Pattern Drafting)
If you’ve ever wanted to make your own clothing patterns, you’re about to unlock the creative freedom most designers dream of.
Whether you’re tired of ill-fitting store patterns or craving styles that reflect your unique aesthetic, learning how to draft clothing patterns from scratch is one of the most rewarding skills you can develop as a sewist.
In this guide, we’ll walk step-by-step through how to make your own clothing patterns — from taking measurements to creating your first wearable garment. Along the way, I’ll share helpful tools, resources, and pro tips to make patternmaking less intimidating and way more fun.

Why You Should Make Your Own Clothing Patterns
Creating your own patterns gives you more than just custom clothes. It gives you creative independence!
Here are a few reasons why it’s worth learning:
- Perfect Fit, Every Time – Commercial sewing patterns are made for average body types. When you draft your own, it’s tailored perfectly to your measurements.
- Unlimited Design Freedom – Once you understand the basics, you can modify hemlines, sleeves, necklines, and silhouettes to create your dream wardrobe.
- Save Money in the Long Run – No more buying patterns for every new project. You can reuse and adapt your custom slopers endlessly.
- Sustainability – Designing pieces that fit right the first time reduces fabric waste and promotes slow fashion practices.
- Skill Mastery – The deeper you go into pattern drafting, the more confident you become as a designer and maker.

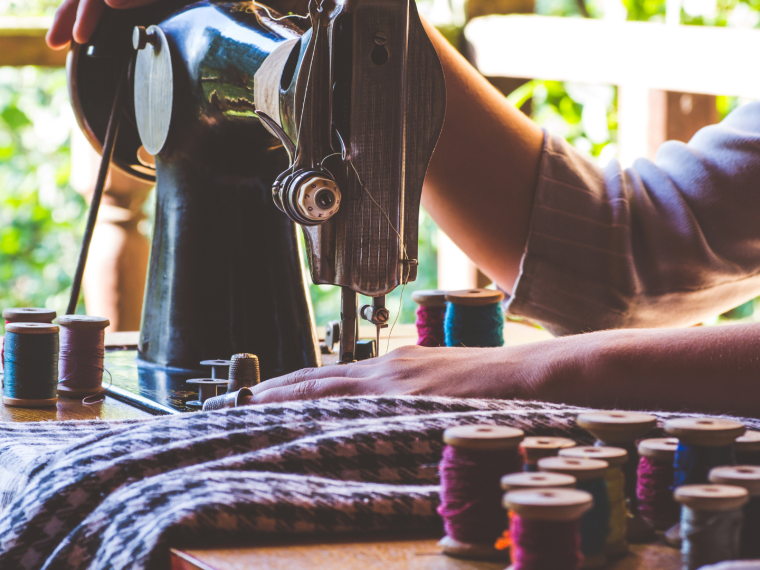
Tools You’ll Need to Make Your Own Clothing Patterns
Having the right tools makes the process smoother. You don’t need fancy equipment — just a few essentials:
- Pattern paper or large craft paper – Look for unlined rolls.
- Measuring tape – A soft, flexible one that wraps easily around your body.
- Clear ruler & French curve – For clean, curved lines.
- Pencil, eraser, fine-tip marker – Draft, erase, and finalize.
- Scissors (for paper) – Keep fabric scissors separate.
- Pattern weights or tape – Keeps paper flat while working.
- Dress form or a well-fitting garment – Great for comparison and draping.
- Muslin or inexpensive test fabric – To create your mockup.
Optional but helpful: A hip curve, tracing wheel, and pattern notcher for precision.

Step-by-Step: How to Make Your Own Clothing Patterns
This process applies to any garment — from a simple top to a structured jacket.
Step 1: Take Accurate Body Measurements
Start with accurate body measurements. Wear snug clothing and stand naturally. The key ones to record are:
- Bust
- Waist
- Hips
- Shoulder to shoulder
- Front and back length
- Arm length and circumference
- Neck to waist
Write everything down. These will be the foundation of your pattern. If you’ve ever wondered why some store-bought patterns don’t fit quite right — inaccurate measurements are usually the culprit!
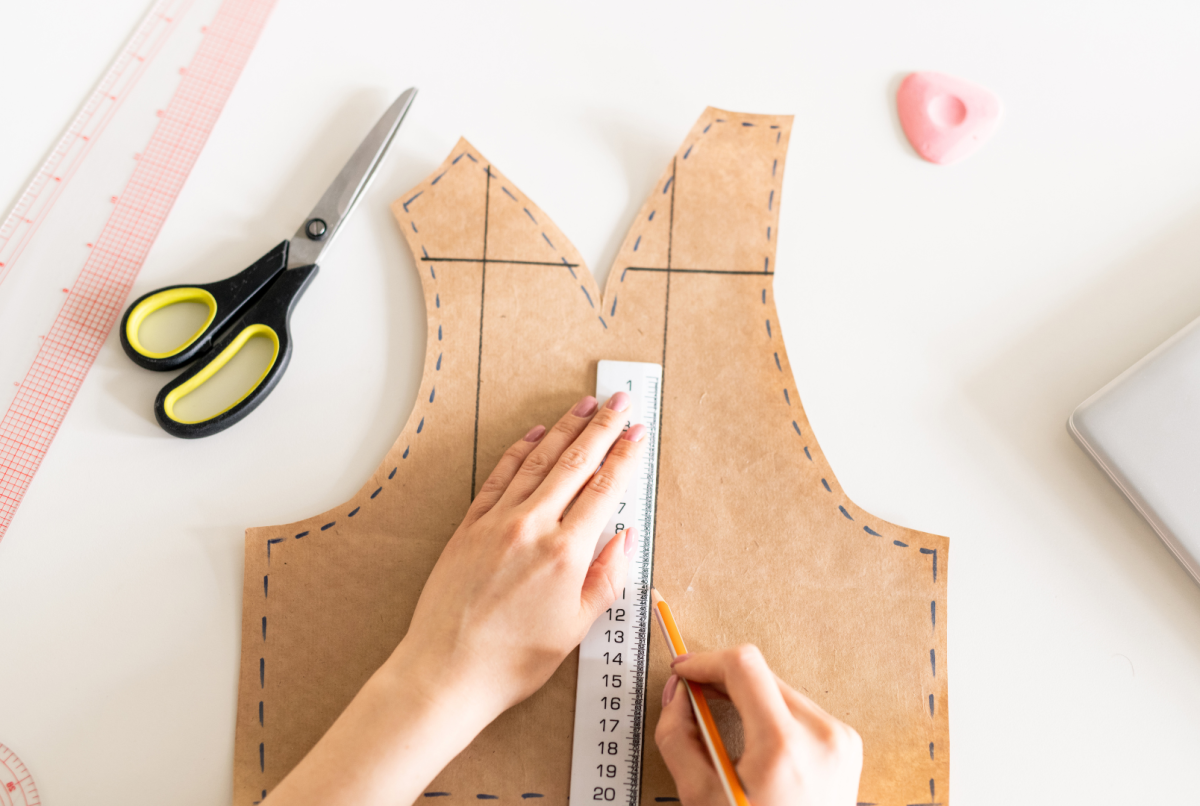
Step 2: Draft Your Basic Block (Sloper)
A sloper is a simple, close-fitting pattern with no design details. It’s your base template.
To create one:
- Draw a vertical center line (your grainline).
- Add horizontal lines for bust, waist, and hip levels.
- Mark key measurements and connect them with smooth lines.
- Add darts for shaping around the bust or waist if needed.
- Mirror for the back piece.
Your sloper becomes the “master pattern” that you’ll modify for every future design.

Step 3: Add Design Lines and Style Details
Now comes the fun part — transforming your sloper into a wearable design!
Here’s how:
- Adjust neckline (V-neck, scoop, boat, etc.)
- Modify sleeve type (cap, puff, bishop, flared)
- Change the length (crop top, tunic, midi, maxi)
- Add flare to skirts or create asymmetrical hemlines
- Insert seam lines for color blocking or shaping
- Add seam allowance (⅝ inch standard)
Each change should be carefully marked and labeled. You’re now officially designing your own clothing pattern!
Step 4: Create a Muslin (Test Garment)
Before cutting your real fabric, make a muslin — a quick, inexpensive mockup that tests fit.
Cut your pattern out of muslin fabric and baste the pieces together. Try it on, or place it on your dress form. Check:
- Does it fit smoothly across bust, waist, and hips?
- Are darts and seams placed correctly?
- Is the sleeve movement comfortable?
Mark adjustments directly on the muslin with a fabric pen. Then transfer those changes back to your paper pattern.
This one step can save you from wasting hours and expensive fabric later.
Step 5: Refine and Finalize Your Pattern
Once you’ve made your test adjustments, re-draw your pattern neatly with final measurements. Label each piece clearly:
- Front, Back, Sleeve, Collar, etc.
- Grainlines
- Notches for alignment
- Fold lines and seam allowances
- Version number or date
Now you can confidently cut into your fashion fabric and start sewing!

How to Copy an Existing Garment into a Custom Pattern
If you have a favorite piece of clothing that fits perfectly, you can use it as a pattern without taking it apart.
- Lay it flat on your pattern paper.
- Trace around each section (front, back, sleeves) one at a time.
- Add seam allowances and markings.
- Cut and test it in muslin fabric.
This is an easy, beginner-friendly way to make your own clothing patterns without needing drafting software or formulas. Check out my YouTube video below that will show you these ideas step by step! This is a GREAT way to re-create your favorite vintage one-of-a-kind clothes: by making your very own clothing patterns vintage inspired.
Digital Tools for Patternmaking
For tech-savvy creators, there are several free and affordable tools that let you draft patterns digitally:
- Seamly2D (Free) – Open-source software for creating custom patterns.
- Valentina – Similar to Seamly, great for precision measurements.
- Adobe Illustrator – For designers who prefer vector control.
- CLO3D / Marvelous Designer – For advanced 3D garment simulation.
If you plan to design patterns for others or sell PDFs, digital tools make adjustments and grading much easier.
Common Patternmaking Mistakes (and How to Avoid Them)
Learning to make your own patterns takes practice — and mistakes are part of it! But here are a few to watch for:
- Skipping the muslin step – Always test fit before cutting your final fabric.
- Ignoring seam allowance – Without it, your garment will end up too small.
- Not labeling pieces – It’s easy to forget which side is which later.
- Using the wrong grain direction – This affects drape and stretch.
- Rushing the measuring process – Double-check every number.
Taking your time to measure and test will always save you time later.

Intermediate Patternmaking Skills to Learn Next
Once you’ve mastered basic drafting, explore intermediate techniques like:
- Dart manipulation – Move darts into creative seam lines.
- Adding pleats, gathers, and tucks – For texture and volume.
- Grading patterns – Adjusting for different sizes.
- Pattern draping – Designing directly on a dress form using fabric.
- Drafting collars and cuffs – Polish your designs for a professional look.
Each new skill adds another layer of creative freedom.
Expert Tips for Success
✨ Document everything. Keep a notebook or binder for your pattern projects. Include your sketches, measurements, and test notes.
🧵 Label your paper patterns. Write size, date, and any unique adjustments.
📸 Photograph each stage. Visual records help when re-creating designs later.
👗 Start simple. Practice with skirts or tops before moving to pants or jackets.
🌱 Stay inspired. Browse vintage patterns or runway collections to see how lines and shapes evolve. Browse YouTube and Pinterest projects like the one I have here about making seamless panties using a pair you already love!
Final Thoughts: Start Designing Clothes That Truly Fit You
Learning how to make your own clothing patterns is one of the most empowering skills you can master as a sewist. Not only does it give you a perfect fit every time, but it also opens endless doors for creativity and sustainable fashion. Whether you’re drafting your first sloper or experimenting with advanced patternmaking techniques, each design brings you closer to complete creative freedom. So grab your measuring tape, paper, and muslin — and start building a wardrobe that’s 100% your style. If you’re ready to keep learning, check out my next tutorial on DIY fashion design and discover more step-by-step guides to help you create clothes that fit, flatter, and feel uniquely yours.